远端代理实例通过远端代理的缓存功能,实现就近访问的效果,有效提升跨境镜像拉取的效率。本文介绍容器服务 VKE 调用远端代理仓中的镜像文件,发布应用的方法。当前支持多种调用发布的方式,请根据您的具体使用场景选择。
场景介绍
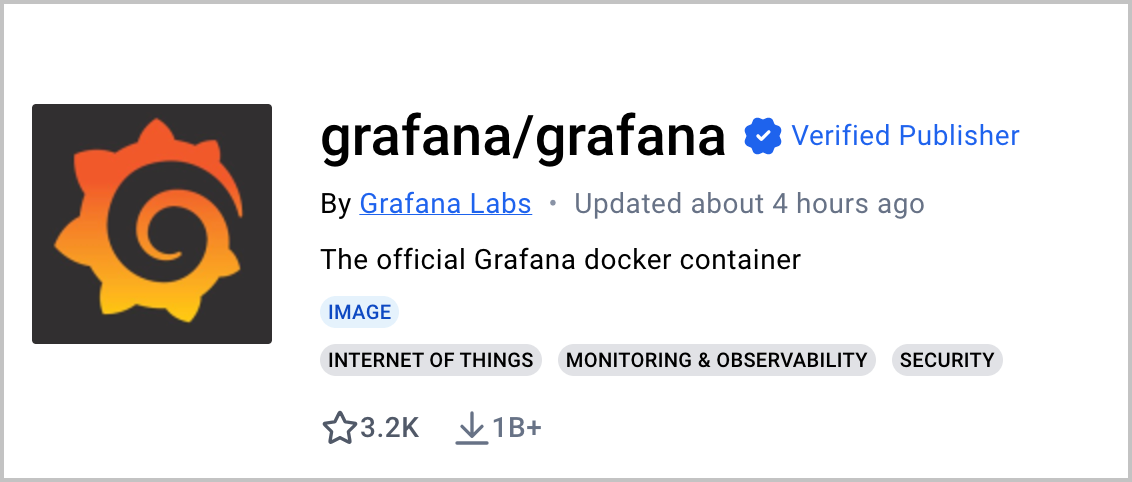
通过远端代理仓的访问域名,拉取 Docker Hub 中官方镜像(有 Docker Official Image 标识)Nginx。
Docker 官方镜像,具有 Docker Official Image 标识。

非 Docker 官方镜像,不具有 Docker Official Image 标识。
前提条件
已创建 VKE 集群,操作详情参见 创建集群。
注意
如果镜像运行在 VCI 集群(容器网络模型为 VPC-CNI)中,通过远端代理仓库拉取镜像的方法参见 创建实例并配置远端代理仓。
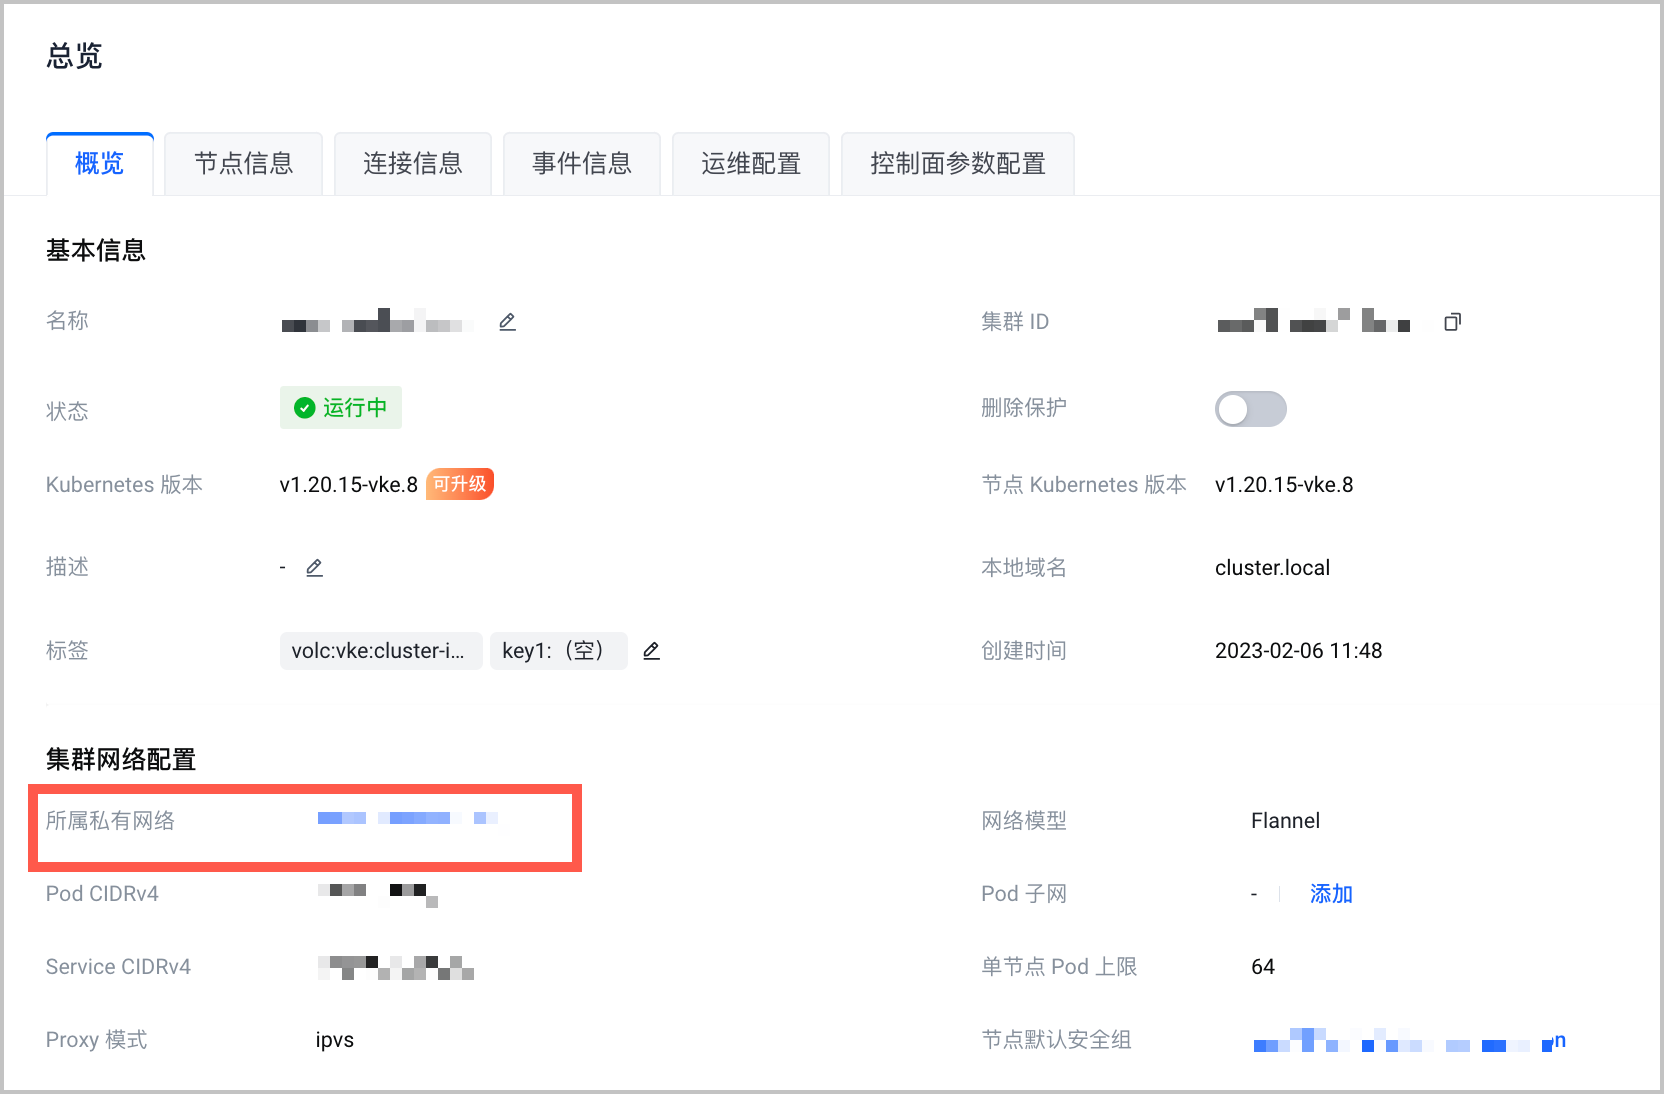
已获取 VKE 集群所处 VPC 信息,支持在集群概览页查看。
操作步骤
第一步:创建远端代理仓
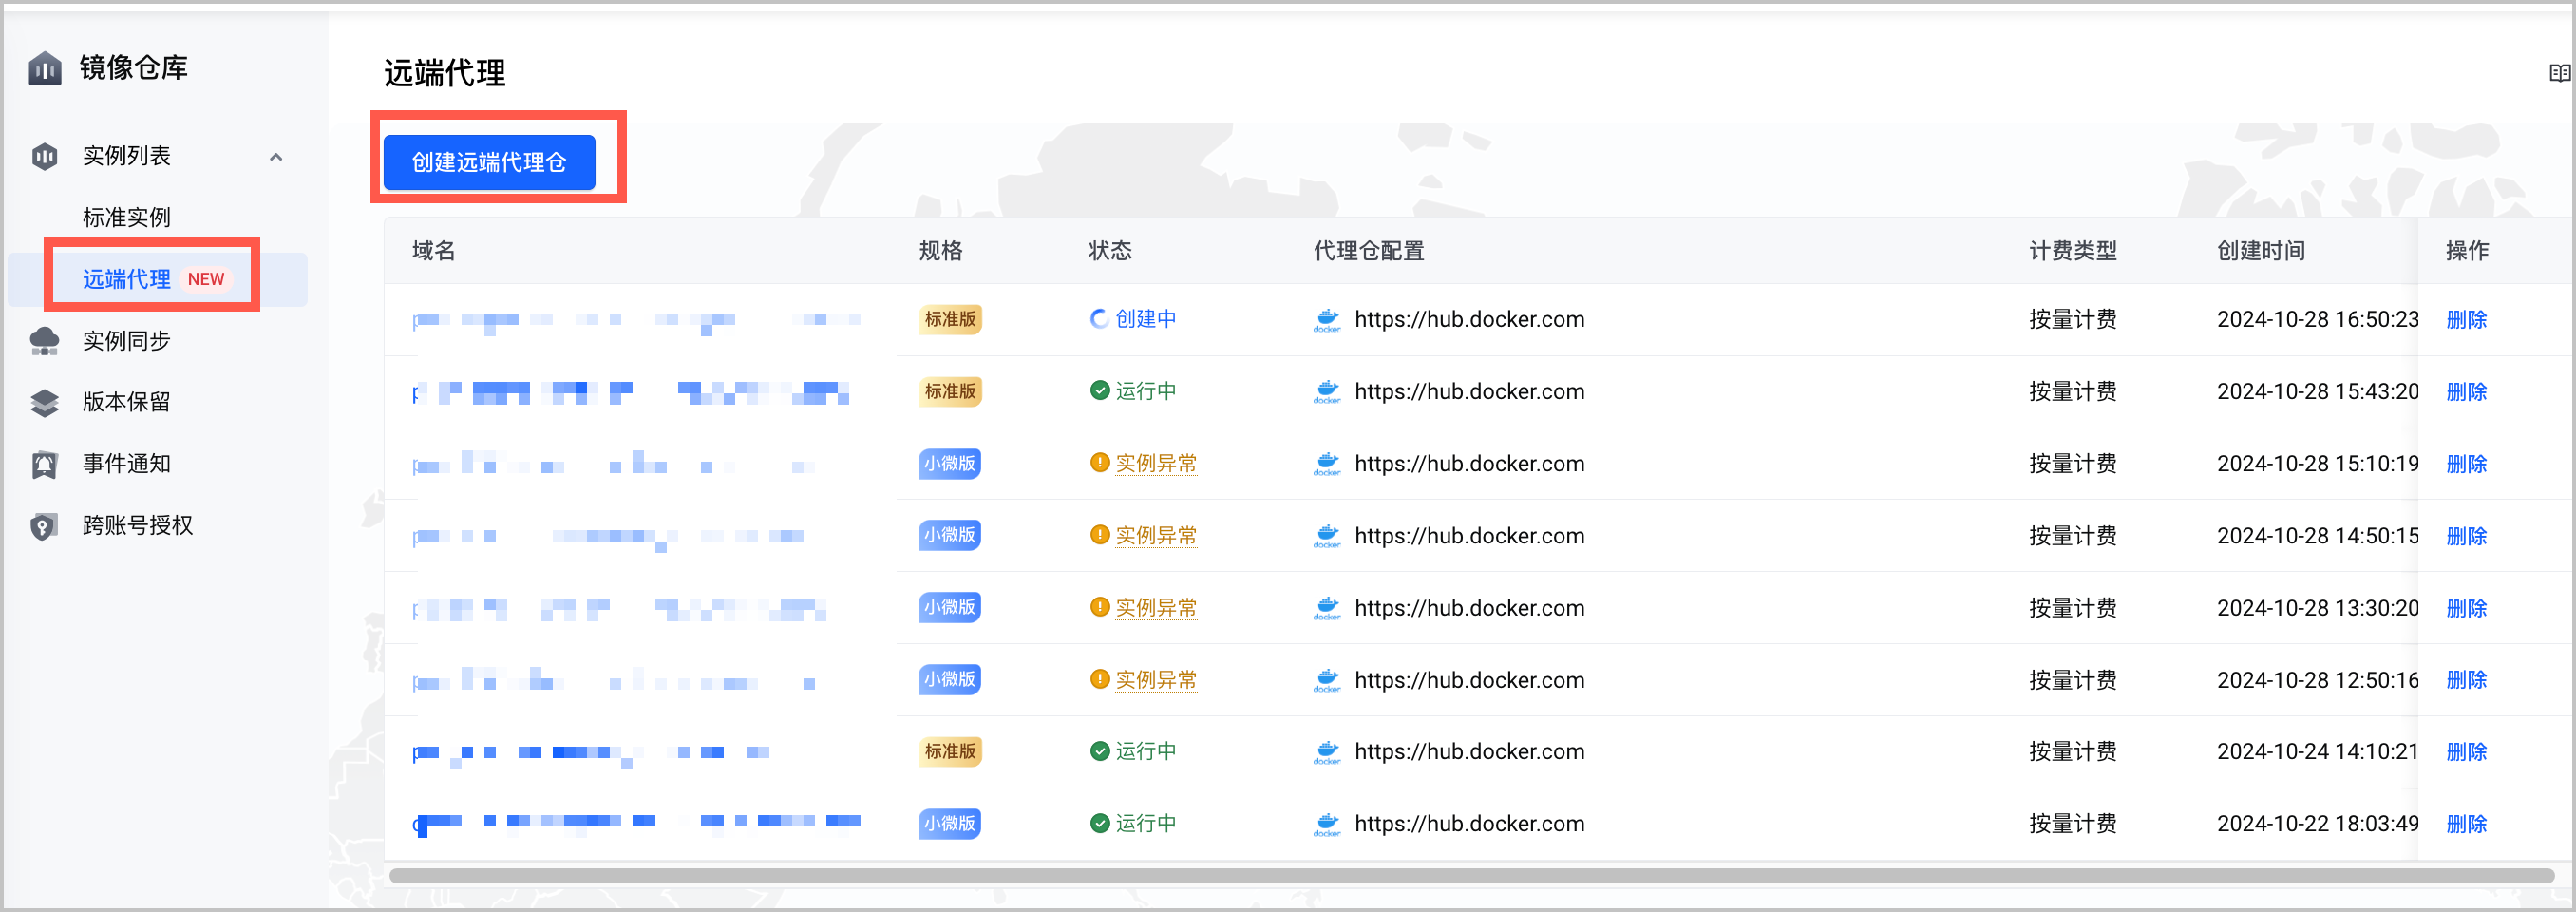
登录 镜像仓库控制台,创建远端代理仓。操作详情参见 创建远端代理仓。
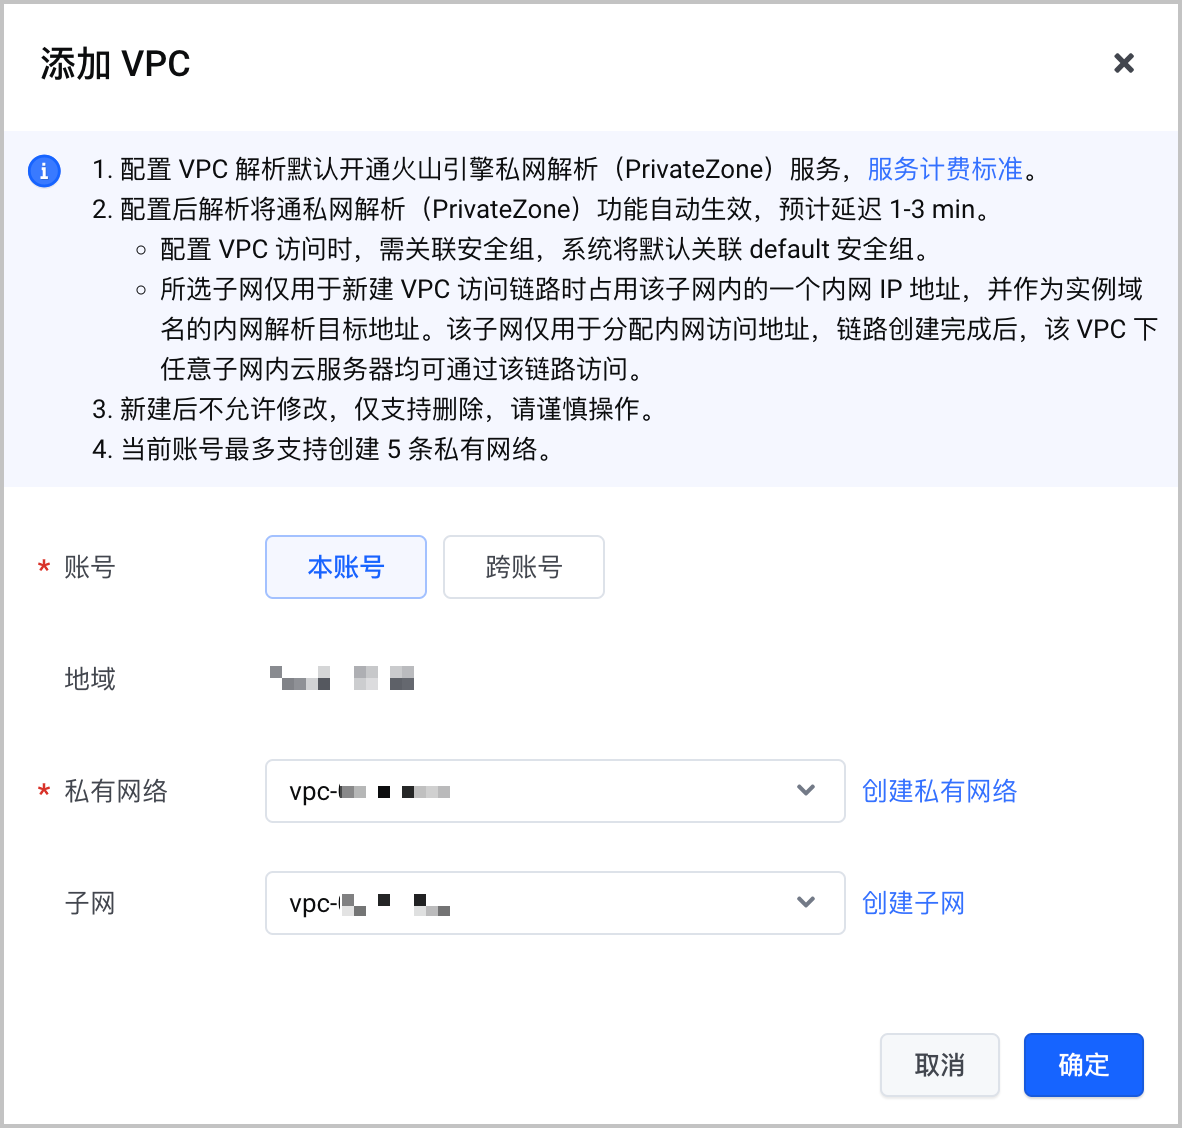
使用标准版本远端代理仓时,需要在远端代理仓的 访问控制 > VPC 页面,添加 VKE 集群所在 VPC,确保代理和集群的网络连通。添加 VPC 的说明参见 连通本账号 VPC。
说明
小微版远端代理仓时默认使用同地域内网,无需单独配置。
第二步:创建命名空间
在远端代理仓中创建命名空间 library,操作详情参见 创建命名空间。
1. 登录 镜像仓库控制台。
2. 在顶部导航栏,选择目标地域。
3. 在左侧导航栏单击 实例列表,然后在 实例列表 区域中找到需要创建命名空间的标准版实例,单击 进入实例。
4. 在标准版实例页面左侧导航栏单击 命名空间。
5. 在 命名空间 页面,单击 创建命名空间。
第三步:拉取镜像
使用访问域名拉取镜像文件至远端代理仓。
# docker pull [访问域名]/[命名空间]/[镜像仓库]:[镜像版本号]

docker pull ****.cr.volces.com/library/nginx:stable-alpine3.20-perl
第四步:发布应用
支持多种方式调用远端代理仓中的镜像文件,发布应用。
方式一:通过远端代理仓域名
使用 访问域名 下载并使用镜像文件,域名支持在远端代理仓概览页查看。
注意
发布应用时需要将
nginx替换为{访问域名}/library/nginx:latest。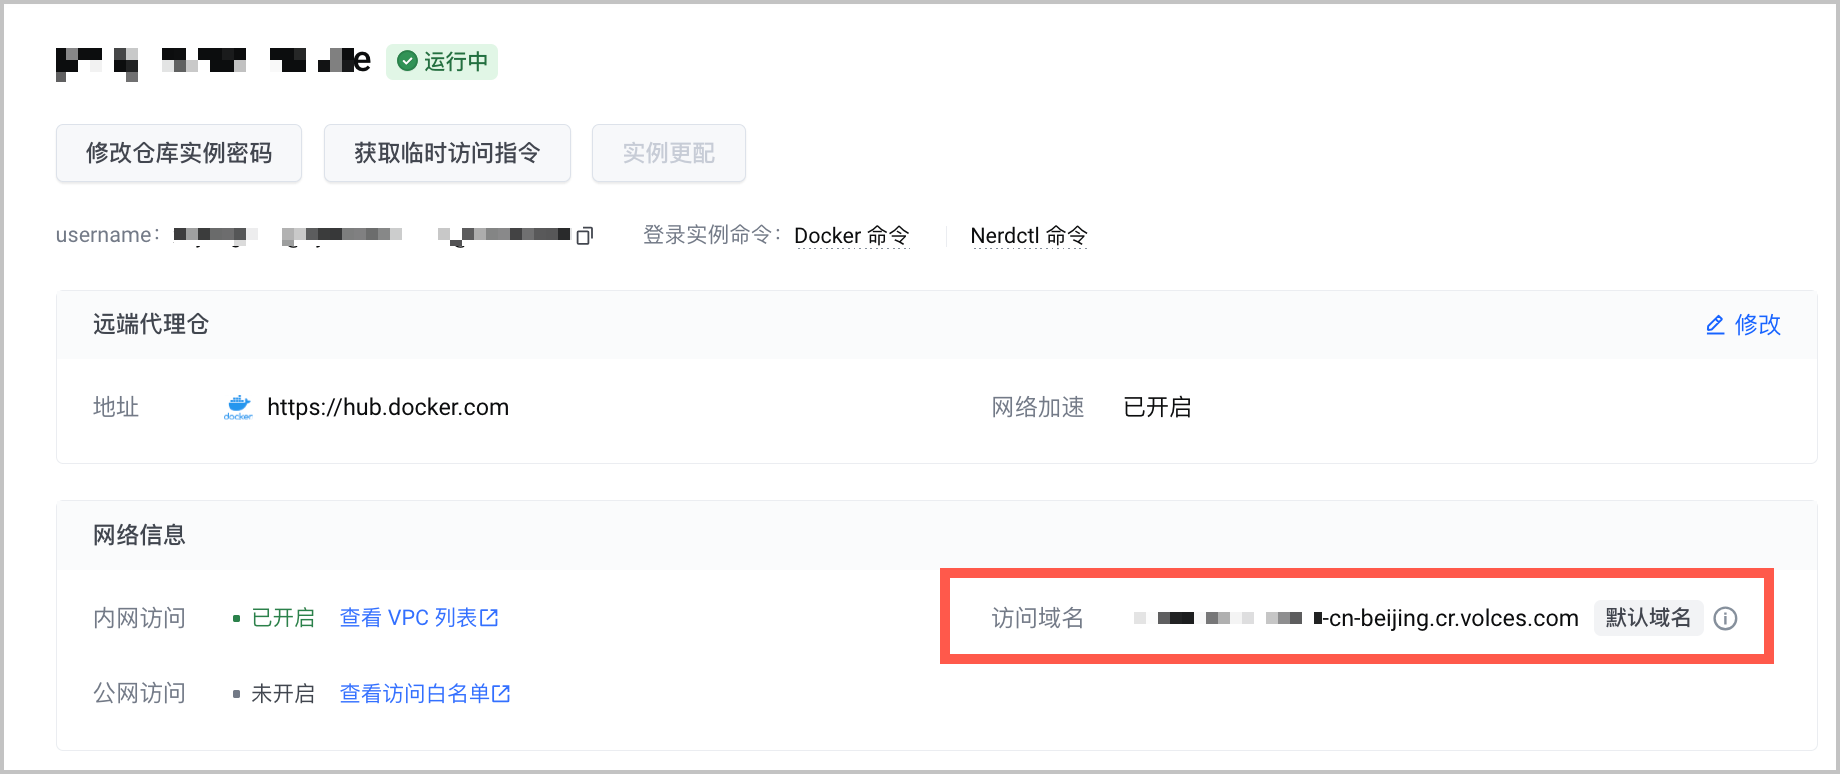
方式二:通过 Kyverno 替换访问域名
通过 Kyverno,在部署 Kubernetes 应用时自动替换访问域名。
安装 Kyverno。
创建
policy。apiVersion: kyverno.io/v1 kind: ClusterPolicy metadata: name: replace-image-registry-with-harbor annotations: policies.kyverno.io/title: Replace Image Registry With Harbor pod-policies.kyverno.io/autogen-controllers: none policies.kyverno.io/category: Sample policies.kyverno.io/severity: medium policies.kyverno.io/subject: Pod kyverno.io/kyverno-version: 1.11.4 kyverno.io/kubernetes-version: "1.27" policies.kyverno.io/description: >- Some registries like Harbor offer pull-through caches for images from certain registries. Images can be re-written to be pulled from the redirected registry instead of the original and the registry will proxy pull the image, adding it to its internal cache. The imageData context variable in this policy provides a normalized view of the container image, allowing the policy to make decisions based on various "live" image details. As a result, it requires access to the source registry and the existence of the target image to verify those details. spec: rules: - name: redirect-docker match: any: - resources: kinds: - Pod operations: - CREATE - UPDATE mutate: foreach: - list: request.object.spec.initContainers[] context: - name: imageData imageRegistry: reference: "{{ element.image }}" preconditions: any: - key: "{{imageData.registry}}" operator: Equals value: index.docker.io patchStrategicMerge: spec: initContainers: - name: "{{ element.name }}" image: <访问域名>/{{imageData.repository}}:{{imageData.identifier}} - list: request.object.spec.containers[] context: - name: imageData imageRegistry: reference: "{{ element.image }}" preconditions: any: - key: "{{imageData.registry}}" operator: Equals value: index.docker.io patchStrategicMerge: spec: containers: - name: "{{ element.name }}" image: <访问域名>/{{imageData.repository}}:{{imageData.identifier}}使用
nginx:latest发布应用。