弹性计算
Ubuntu20.04安装配置jupyter-lab
Ubuntu20.04安装配置jupyter-lab
本文介绍在 Ubuntu20.04 系统部署jupyter-lab。
实验介绍:
本期实验为您介绍了如何在操作系统为Ubuntu20.04的云服务器实例上正确安装并部署jupyter-lab。在实验正式开始前,请先完成如下准备工作:
关于实验:
预计部署时间:40分钟
级别:初级
相关产品:云服务器
受众:通用
操作步骤:
安装jupyter-lab及相关插件
- 依次执行以下命令,完成jupyter-lab下载工作:
sudo apt-get install libffi-dev
sudo apt install python3-pip
pip3 install -i https://pypi.tuna.tsinghua.edu.cn/simple jupyter
pip3 install -i https://pypi.tuna.tsinghua.edu.cn/simple jupyterlab
sudo apt install jupyter-core
//安装启动jupyterlab所需插件
sudo apt install nodejs npm
curl -fsSL https://deb.nodesource.com/setup_18.x | sudo -E bash - &&\
sudo apt-get install -y nodejs
jupyter-lab配置
- 生成jupyter配置文件及登录密码
jupyter notebook --generate-config //生成配置文件
//生成jupyterlab的登录密码
ipython

from notebook.auth import passwd
passwd()
exit()

- 修改jupyter-lab配置文件
vim ~/.jupyter/jupyter_notebook_config.py
在文件末尾添加:
c.NotebookApp.ip = '0.0.0.0'
c.NotebookApp.open_browser = False
c.NotebookApp.password = 'argon2:*************' //上一步设置密码生成的信息
c.NotebookApp.port = 8888 //设置jupyter-lab访问端口

jupyter labextension install @jupyter-widgets/jupyterlab-manager
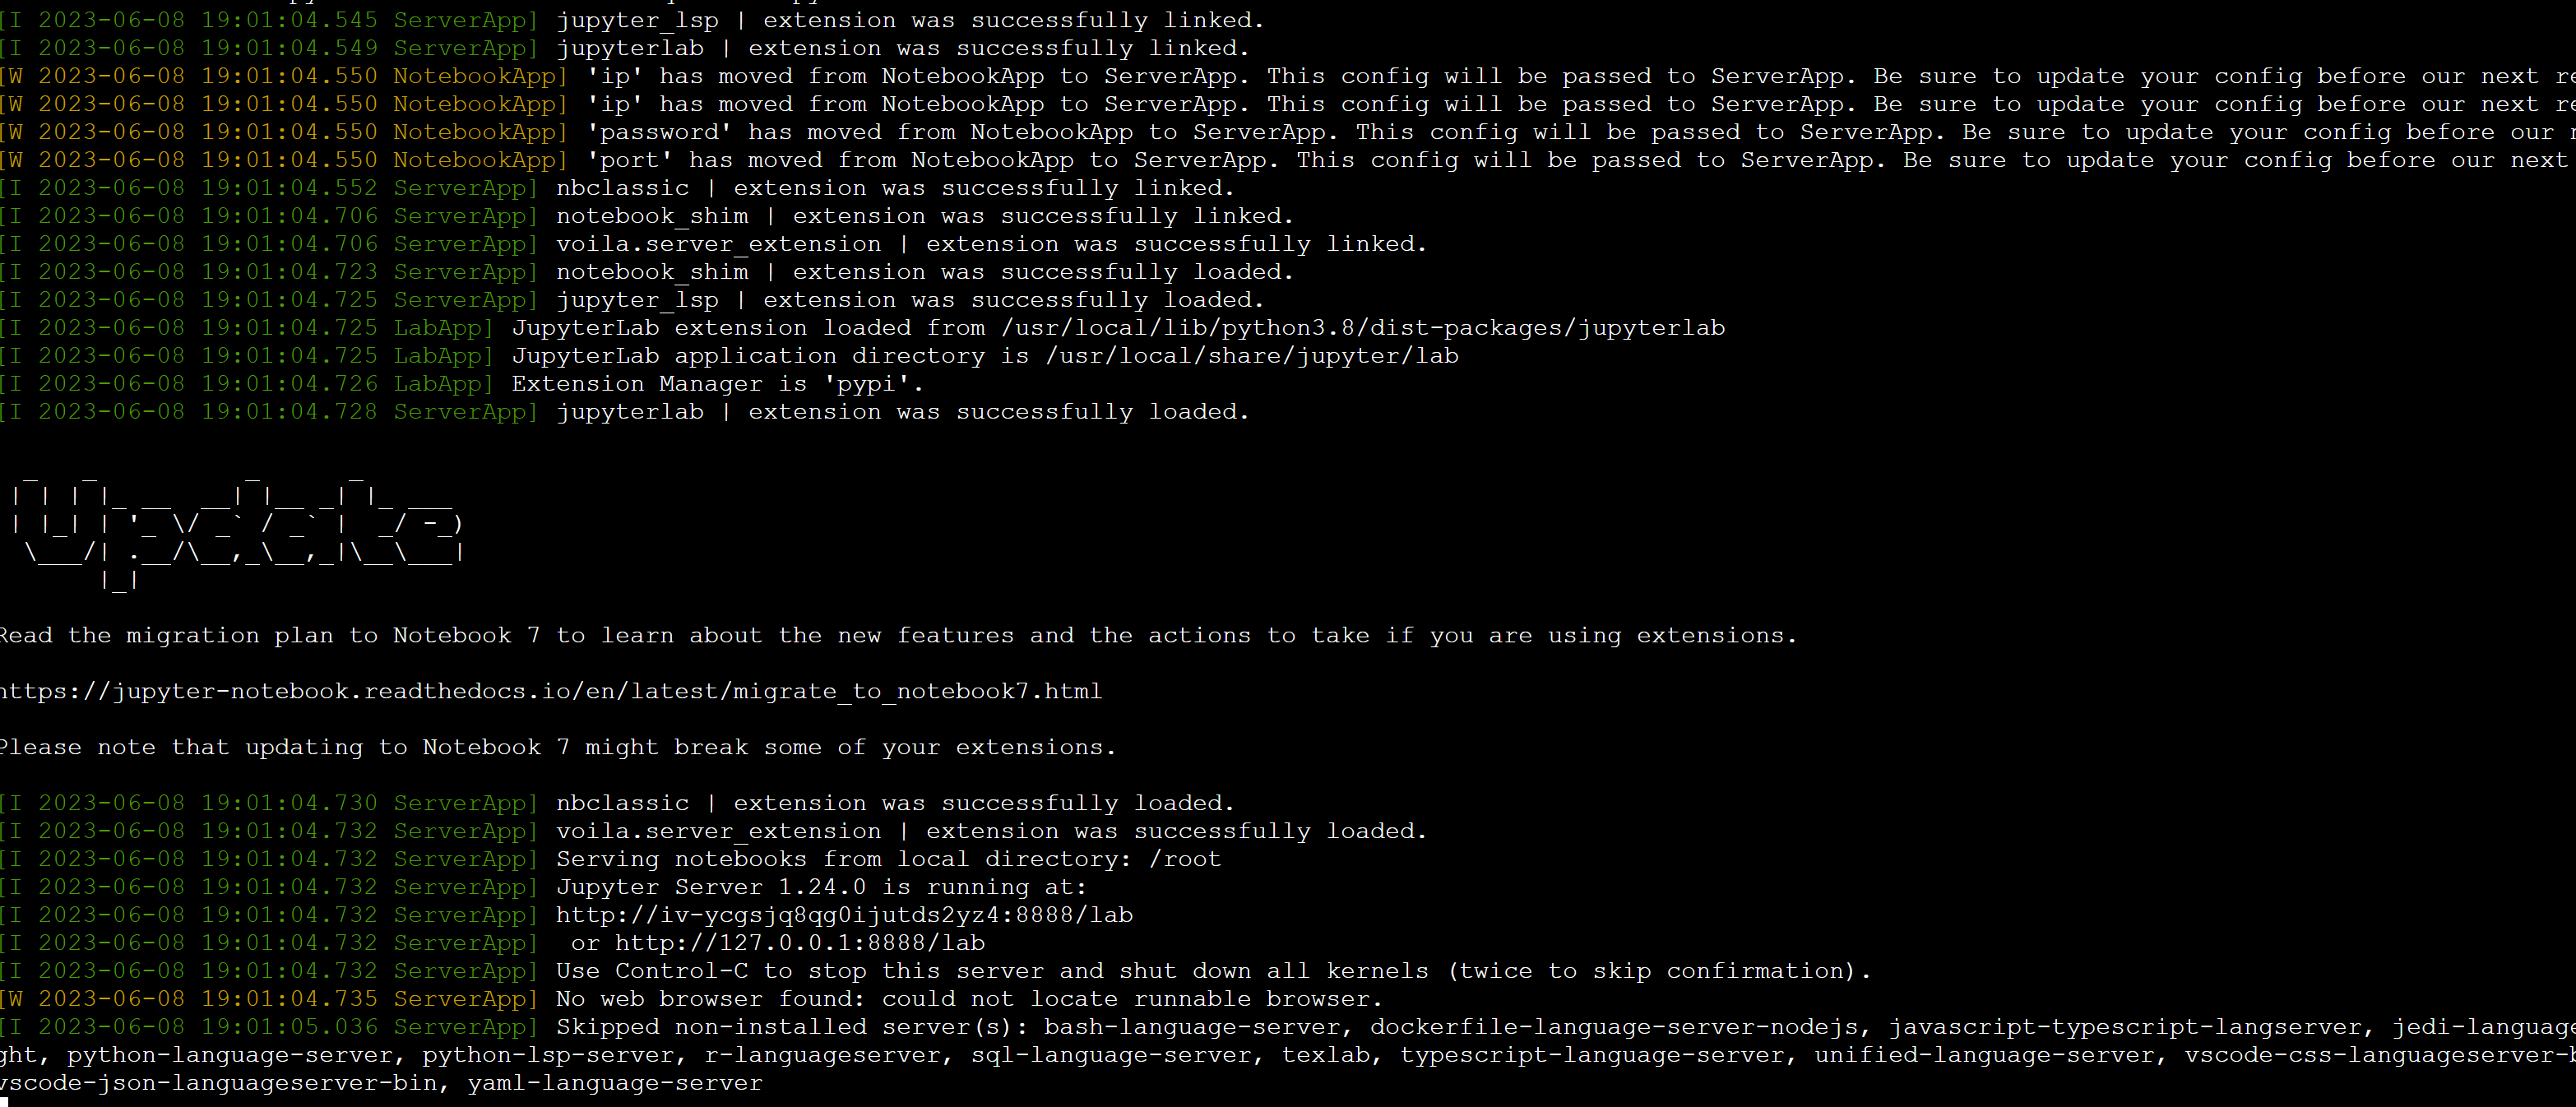
jupyter lab --allow-root //启动

- 在安全组配置入方向规则,放通8888端口

- 打开Google页面,输入“公网IP:8888” 打开web页面,输入配置过程中设置的密码即可登入。


如果您有其他问题,欢迎您联系火山引擎技术支持服务。
最近更新时间:2024.01.02 16:01:43
这个页面对您有帮助吗?
有用
有用
无用
无用